Uncategorized
best budget gaming chair, best budget gaming chairs, best cheap gaming chair, best gaming chair, best gaming chair on amazon, best gaming chair under 100, best gaming chair under 200, best gaming chairs, budget gaming chair, budget gaming chairs, cheap gaming chair, cheap gaming chairs, gaming chair, gaming chair with footrest, massage gaming chair, reclining gaming chair, TheRenderQ
katayamab2drop@gmail.com
0 Comentários
Hoffree Gaming Chair with Massage Lumbar Support – Reclining Computer Gaming Chair with Foot Rest
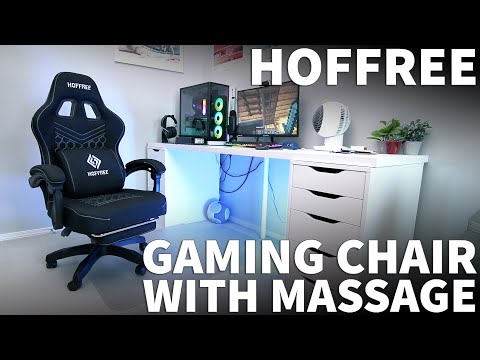
“When it comes to gaming chairs, Hoffree has some great stylish options to choose from. In this video, I’ll highlight the features and show you the complete assembly instructions. This model is all black, but there are also different colors and patterns available. As you can see, it has a cool hexagonal design on the seat and backrest. It includes a lumbar support pillow that I feel is really necessary with this chair. When I sit in it, I need to adjust the back pillow a bit for the best comfort. It’s a roomy chair, and I don’t feel constrained when I’m at the computer. The armrests are nicely padded and large enough to wrap around the entire plastic arm frame underneath.
This particular Hoffree gaming chair is priced at about $170, and I’ll list it in the description so it’s easy to find. This is one of their more basic chairs, but they do have models that include LED lights and built-in Bluetooth speakers. It comes unassembled, but it’s actually really easy to put together. All the parts are packed tightly in the box, and by following along, you won’t even need the instruction manual. Although they included a pack of screws, I didn’t need any of them because the screws were already in place on all the various parts of the chair.
Starting with the footrest, I’ll remove 2 screws in the back. Then I’ll attach the support beams. On the seat, there are 8 screws I need to remove. I started using the included Allen wrench, but it took too much time. Having a drill driver really helps speed up the assembly. As mentioned before, I didn’t need the screws in the packaging because there were screws already in place.
Now, remove the side screws. Of course, later all these screws will need to go back in, so it’s helpful to keep track of them. In the small box, find the 2 plastic brackets. These pieces attach to the front end of the seat. Take the assembled footrest and insert the 2 bars into the plastic pieces, sliding it all the way back. Now find the post mechanism, which attaches to the opposite end from the footrest. You’ll be able to line it up with the screw holes in the bottom of the seat, and attaching this is faster using my drill.
Once that’s done, it’s time to attach the wheels to the stand. When all the wheels are attached, grab the center post, which will go into the chair stand with the orange part pointing up. Carefully place the seat onto the center post. Moving on to the backrest, remove the screws on the sides and the 3 screws found under the velcro flap.
Locate the metal T-bar and place it over the 3 screw holes with the red tape facing up. Start by finger-tightening these screws, then use my drill to secure them in place. The chair is now starting to take shape. Insert the backrest into the bracket behind the seat and tighten the knob to hold it in place.
Next, I’ll attach the armrests, which are clearly labeled left and right. Starting with the left side, I’ll attach it to the chair, and then do the same with the right side. I’d say you need about 20 minutes to fully assemble this chair. The last thing to do is put the pillows in place.
Now that it’s done, I’ve found that the Hoffree chair is a great addition to my gaming setup. It has a great look and feels really comfortable. The height is fully adjustable, as you’d expect, and the lumbar pillow has a massaging feature that requires a USB power source. Finally, here’s how the footrest slides out, allowing you to recline the seat back and relax or take a nap at your desk.
If this video was helpful, please give me a thumbs up and hit the subscribe button to stay up to date on all my product reviews and tech tutorials.”
Poderá ver o vídeo no youtube Aqui